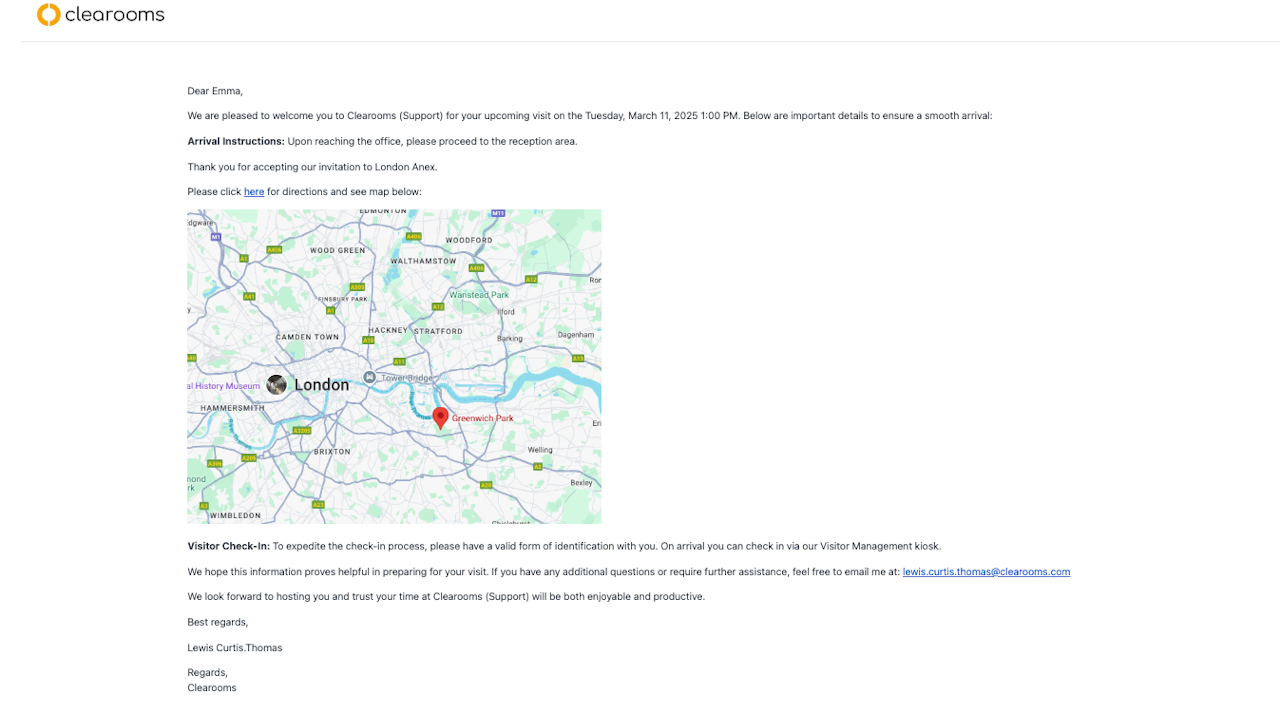

Visitor Management - Welcome Emails
Configuring and Sending Welcome Emails
Welcome emails can be automatically sent to visitors in the following scenarios:
When a visitor is logged
When a visitor checks in
To enable one of these options, follow the below steps:
1) Navigate to Settings < Visitor Management
2) Select your preferred option from the Send When dropdown menu
Configuring Welcome Emails for Specific Offices
You can customise the welcome email for each office, which is helpful if you need to provide unique directions or information for different locations. Here's how to set it up:
1) Go to Settings < Account < Offices
2) Click on the relevant office name highlighted in blue
3) In the field titled Office Notes, add text or images specific to that office.
4) Scroll down and click Update to save your changes
Linking Office Notes to Welcome Emails:
To include the customised office notes in the welcome email:
1) Navigate to Settings < Account < Email Settings
2) Go to page 3 to display Visitor Management emails
3) Click Edit next to the template Welcome Visitor
4) In the email template, click where you want the text or image from the Office Notes field to appear.
5) Select the (x) Variables symbol and choose Office Notes
6) Click Save to finalise your changes
